
- Using Heading Block
- Buttons
- Post Grid
- Content Timeline
- Social Share
- Google Map
- Add Testimonials
- Info Box
- Team
- Icon List
- Price List
- Post Masonry
- Post Carousel
- Post Timeline
- Call To Action
- Advanced Columns
- Blockquote
- Marketing Button
- Table Of Contents
- How-to Schema
- FAQ’s: Schema/Accordion
- Inline Notice
- WP – Search
- Review Schema
- Lottie
- Taxonomy List
- Tabs Block
- Create Contact Forms
- Star Rating
- Masonry Image Gallery
- Wireframe Blocks
- Heading Block
- Image Block
- Buttons Block
- Translate Everything WPML
- Container Block
- Taxonomy Styling Options
- Block Presets
- Image Gallery
- Counter Block
- Modal Block
- Registration Form Block
- Slider Block
- Pagel Level Custom CSS
- Countdown Pro
- Slider Custom Navigation
- Instagram Feed
- Loop Builder
- Animations
- Login Form Block
- Global Block Style Extension
- Create Popups
- Custom Blocks
- Move Block Patterns
- Grid Builder
- Newsletter Forms
- Register High-Privileged Users
- Hide Core Blocks
- Getting Started with Instagram
- Advanced Loop Builder
- Section
- Troubleshooting: Missing Icons
- Spectra Patterns
- Contact Form 7: Multiple Column Fields
- Contact Form 7: Checkbox / Radio / Acceptance Control
- Unable To Style Contact Form 7
- Tab Index For Multiple Gravity Forms
- Getting Started With Spectra
- Exclude Heading From TOC
- Block Display Conditions
- Importing Starter Templates With Spectra
- Getting Started With Spectra
- Manually Install Spectra Via FTP
- Automatic Beta Updates
- Rollback To Previous Versions
- Load Google Fonts Locally
- Activate Spectra Pro License
- Install Spectra Pro
- Translate Strings With Loco Translate
- Process Refund Requests
- Transparent / Sticky Header
- Change Site Logo
- Change Global Styles
- Disable Title on Posts & Pages
- Transparent / Sticky Header For Single Page / Post
- Change Header & Footer Patterns
- Custom / Google Fonts
- Reset Global Default Styling
- Manually Install Spectra One Via FTP
- Enable / Disable Header & Footer On Specific Pages / Posts
Image Gallery
Spectra’s Image Gallery Block allows you to create beautiful and engaging photo galleries on your WordPress website.
This guide will show you how to use this block, transforming your static images into dynamic visual experiences for your visitors.
How to Create an Image Gallery
Before getting started, make sure you have installed and activated Spectra plugin on your WordPress site. Then, you can add the image gallery block to a post or a page.
To insert the image gallery block, click the Toggle block inserter + icon and search for the image gallery block.
Once you insert the block, you can see the ‘Select Images‘ option. You can upload images from your computer or select already uploaded images from the media library.
What are the Image Gallery Block General Settings
Now, let us look deeper into the various customization options this block offers, allowing you to design your galleries to perfectly match your vision.
Layout:
The image gallery block offers more customization options. You can see different layouts: Grid, Masonry, Carousel, and Tiles.
- Grid Layout: Using this layout, you can showcase your photos in neat rows and columns, offering a clean and organized look. You can control the number of columns displayed to perfectly accommodate your images.
- Masonry Layout: Images of varying sizes are displayed in a Pinterest-like fashion, creating a visually dynamic and captivating presentation for your photos.
- Carousel Layout: Showcase your photos in a dynamic slideshow format. Visitors can easily navigate through the images using arrow controls, ideal for showcasing product collections or event highlights.
- Tiles Layout: Present your photos with a modern twist using the tiles layout. Images are displayed in a grid with various sizes and shapes.
You can also set the number of columns (the number of images you want to display in a row) here. Also, you can edit the gallery by clicking the ‘Edit Gallery‘ option.
Caption:
You can notice the toggle button for the caption here. Once you enable the captions, you can set the type as Overlay or Bar Over Image. Also, you can set the captions to be visible always or show/ hide on hover.
How to Style an Image Gallery Block
Beyond selecting photos, you can look into the “Styling” section to customize the look and feel of your galleries.
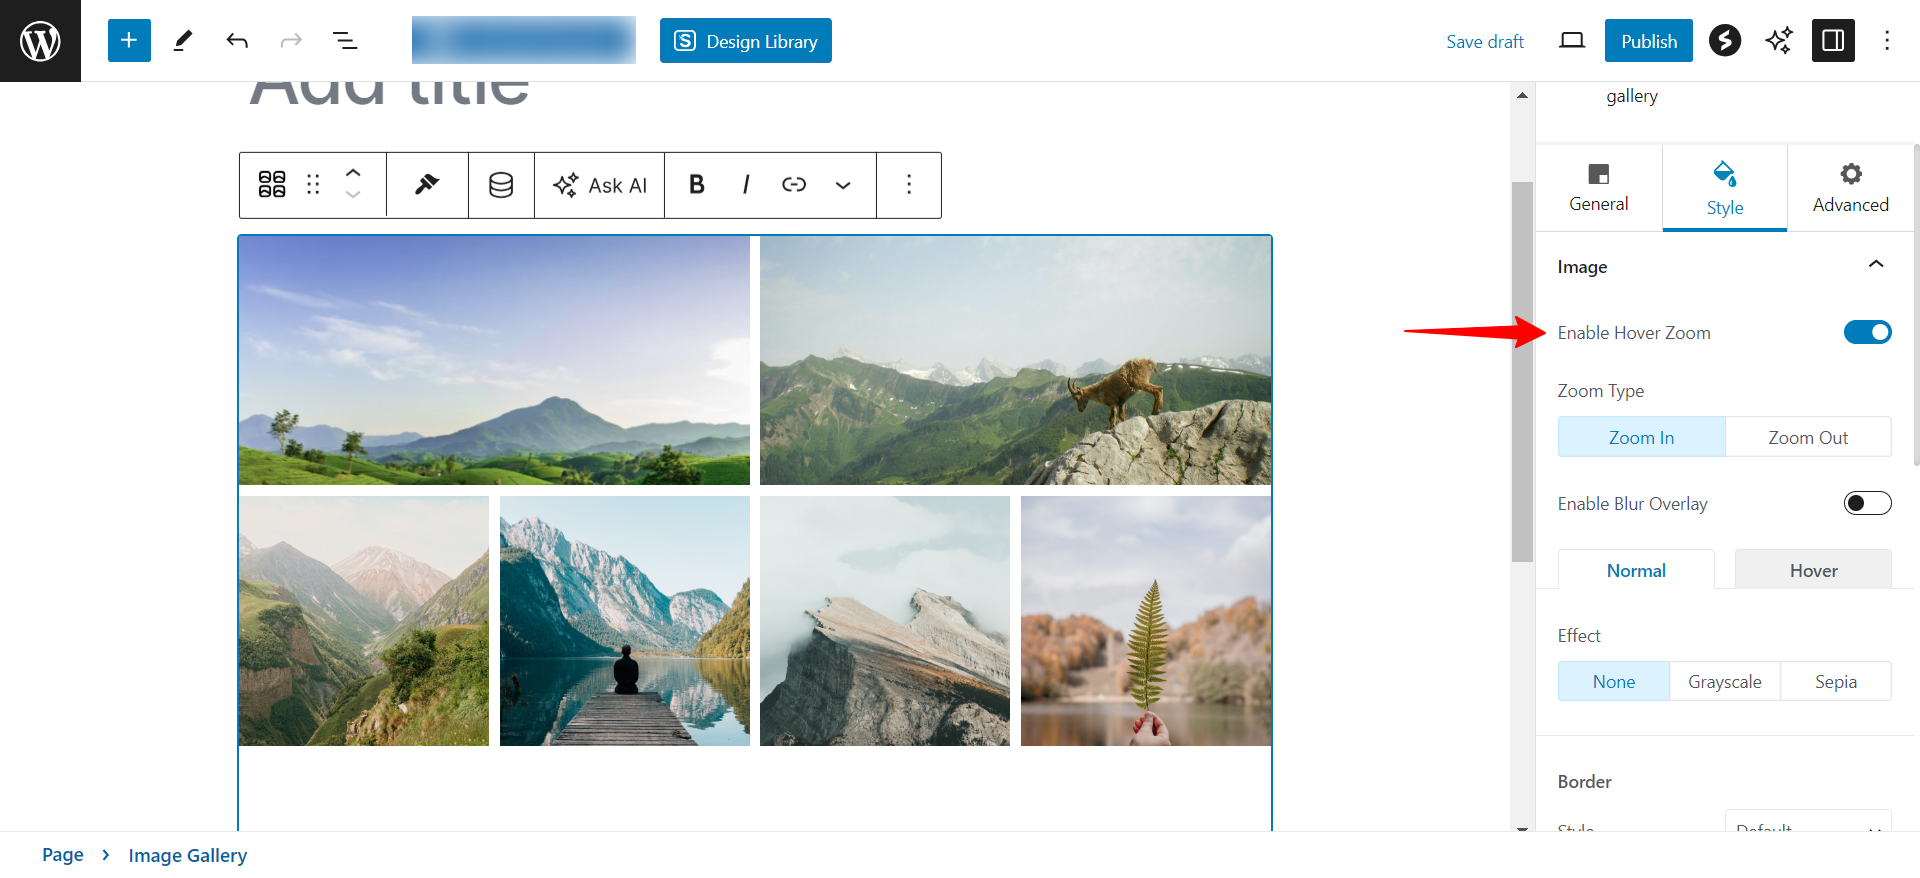
Image:
You can find an option to enable the image hover zoom option and can set the type to Zoom In or Zoom Out. Also, you can set the border around images, border width, and radius. Also, you can see the Typography options for Captions, Spacing, and box shadow options.
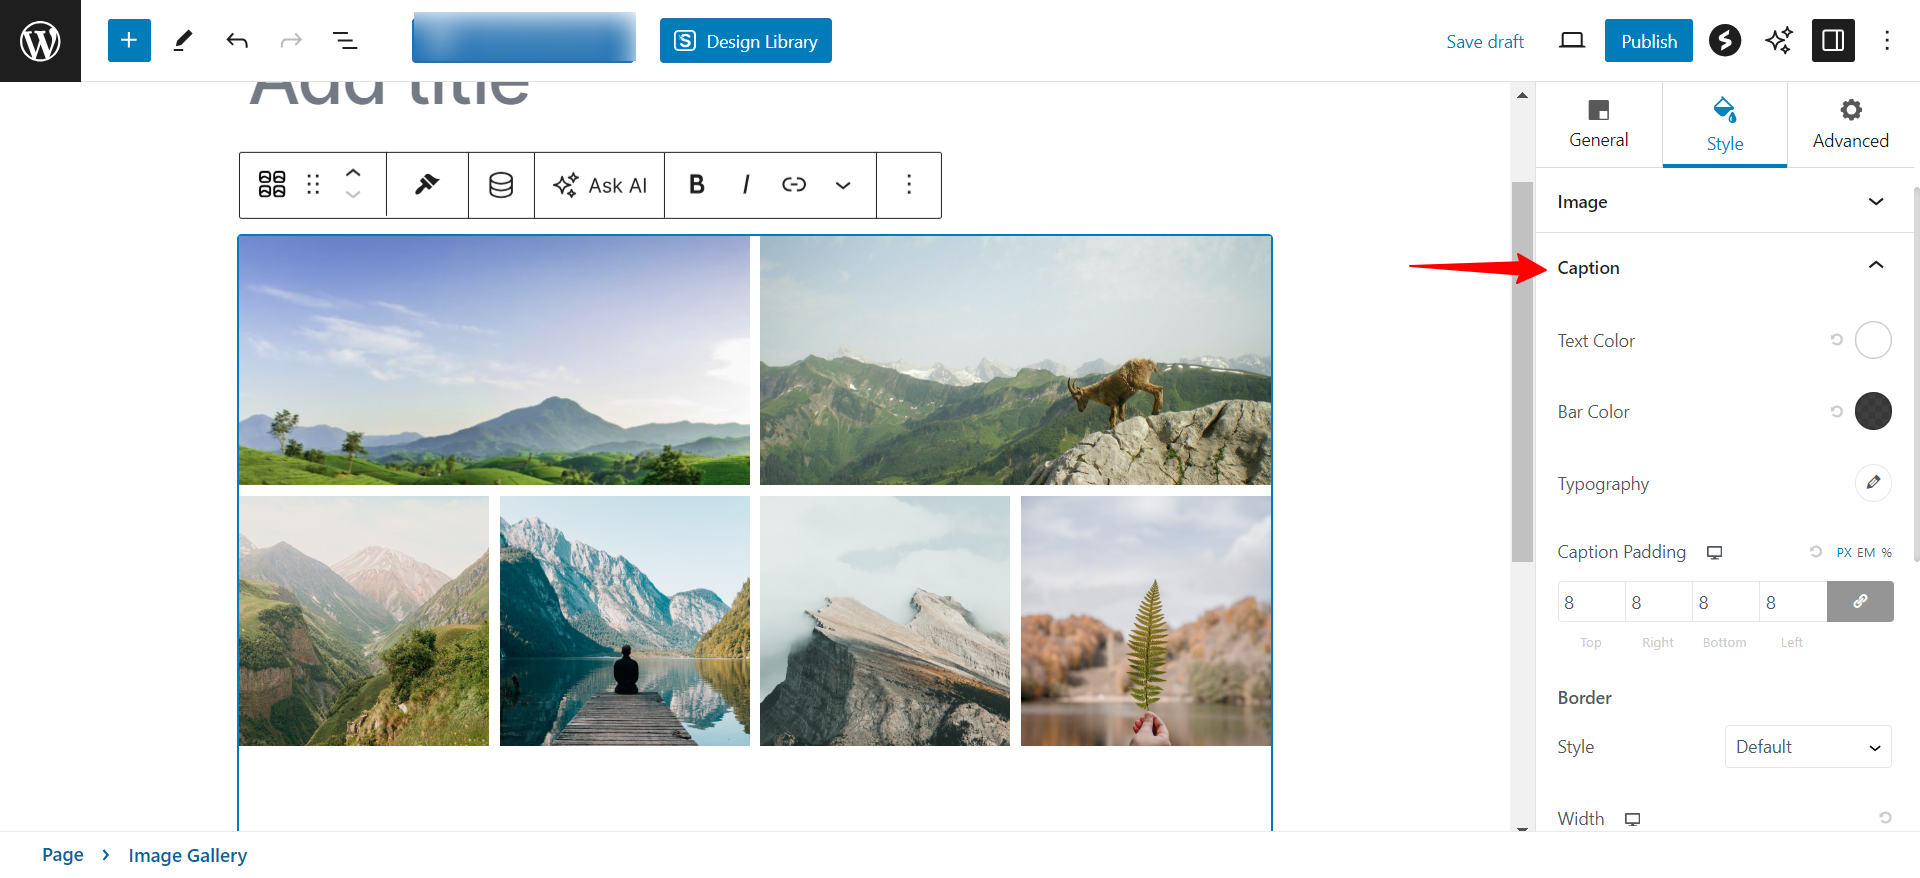
Caption:
Captions provide context and information for your photos. Here’s how to style them:
- Text Color: Define the color of your caption text. Choose a color that complements your images and website design.
- Bar Color (Optional): If using the “Bar Over Image” caption style, you can set the background color of the caption bar.
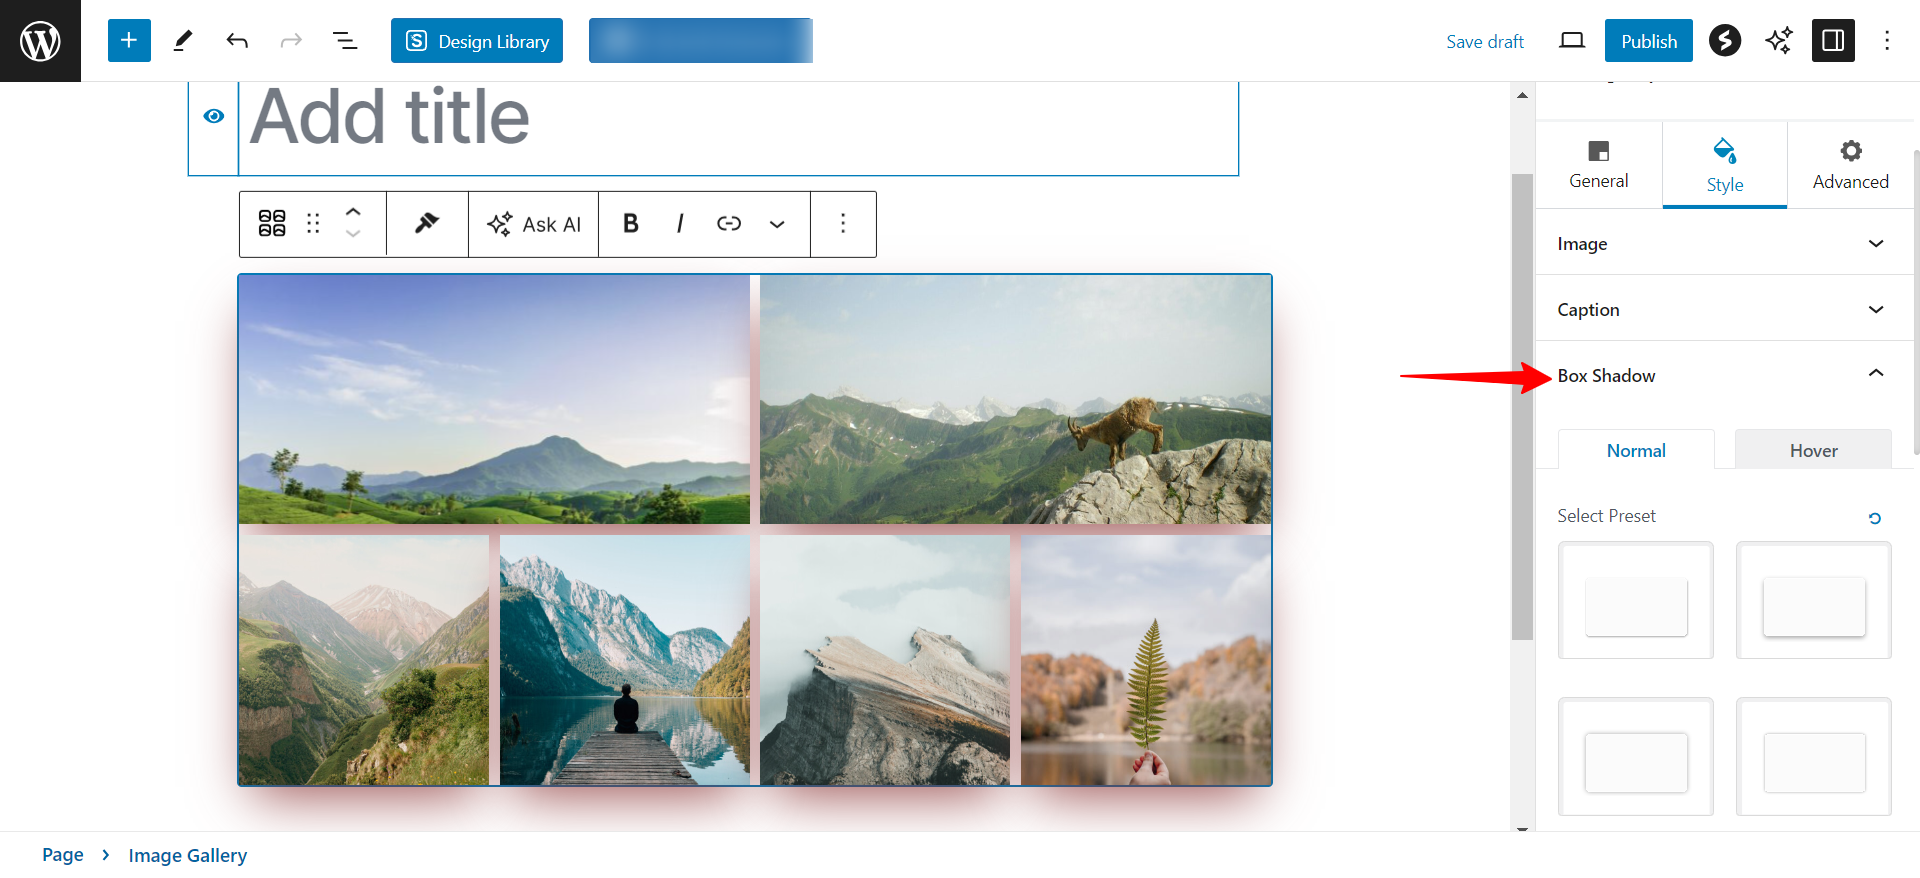
Box Shadow:
You can add a touch of depth with box shadow. This creates a subtle 3D effect around your gallery container.
By using these styling options within Spectra’s Image Gallery Block, you can transform your photo collections into visually captivating assets that elevate your website’s overall look.
We don't respond to the article feedback, we use it to improve our support content.