
- Coming Soon Mode
- Font Management
- Spectra Design Library Guide
- Preview Options (Desktop, Tablet & Mobile)
- Spectra Blocks – Copy and Paste Style
- How to Change the Responsive Breakpoints in Spectra Blocks
- How to Use Spectra Blocks With AI Through the MCP Server
- How to Connect and Disconnect ZIP AI in Spectra Blocks
- Caching in Spectra Blocks
- Filters/Actions For Post
- Spectra Patterns
- Contact Form 7: Checkbox / Radio / Acceptance Control
- Getting Started With Spectra
- WP – Search
- Create Contact Forms
- Import Single Pages, Templates, & Block Patterns
- Assets API For Third-Party Plugins
- Copy & Paste Style
- Load Google Fonts Locally
- Troubleshooting: Missing Icons
- Contact Form 7: Multiple Column Fields
- Unable To Style Contact Form 7
- Tab Index For Multiple Gravity Forms
- Manually Install Spectra Via FTP
- Enable/Disable Design Library Button
- Update Folder File Permissions
- Resolving Container Layout Conflicts
- Database Update Instructions (Below 2.0.0)
- Transparent / Sticky Header
- Change Site Logo
- Change Global Styles
- Disable Title on Posts & Pages
- Transparent / Sticky Header For Single Page / Post
- Change Header & Footer Patterns
- Custom / Google Fonts
- Reset Global Default Styling
- Manually Install Spectra One Via FTP
- Enable / Disable Header & Footer On Specific Pages / Posts
How to Connect and Disconnect ZIP AI in Spectra Blocks
ZIP AI is the AI site builder that works with Spectra Blocks. You describe what you need, and it builds pages, copy, images, and headers right inside WordPress. Everything it creates lands in your editor as regular Spectra Blocks, so that you can edit it like any other content.
ZIP AI runs on a free ZipWP account. ZipWP is our AI platform, and connecting your account is what lets ZIP AI work on your site. This guide shows you how to connect your account, how to disconnect it later, and how to turn ZIP AI off completely.
Before You Start
You only need Spectra Blocks installed and active on your site. If you finished the Spectra Blocks setup wizard, ZIP AI is probably installed already, because the wizard’s last step, Add anything else you need, selects ZIP AI by default. If you skipped the wizard, Spectra Blocks installs ZIP AI for you in the steps below. You also need a ZipWP account; if you don’t have one yet, you can create one for free when you connect.
One thing trips up a lot of people, so it is worth knowing up front. Logging in on the ZipWP website does not connect your site. The connection only happens inside the ZIP AI panel in your WordPress dashboard, which the next section walks you through.
How to Connect Your ZipWP Account
You connect ZIP AI from the AI Features screen in Spectra Blocks. The whole process takes about a minute.
- In your WordPress dashboard, go to Spectra Blocks > AI Features.
- Click Get Started with AI. Spectra Blocks installs and activates the free ZIP AI plugin for you. The button shows Installing… and then Activating…, and the page reloads when it is done. If the button already says Launch ZIP AI, ZIP AI is installed, so click Launch ZIP AI and go to the next step.
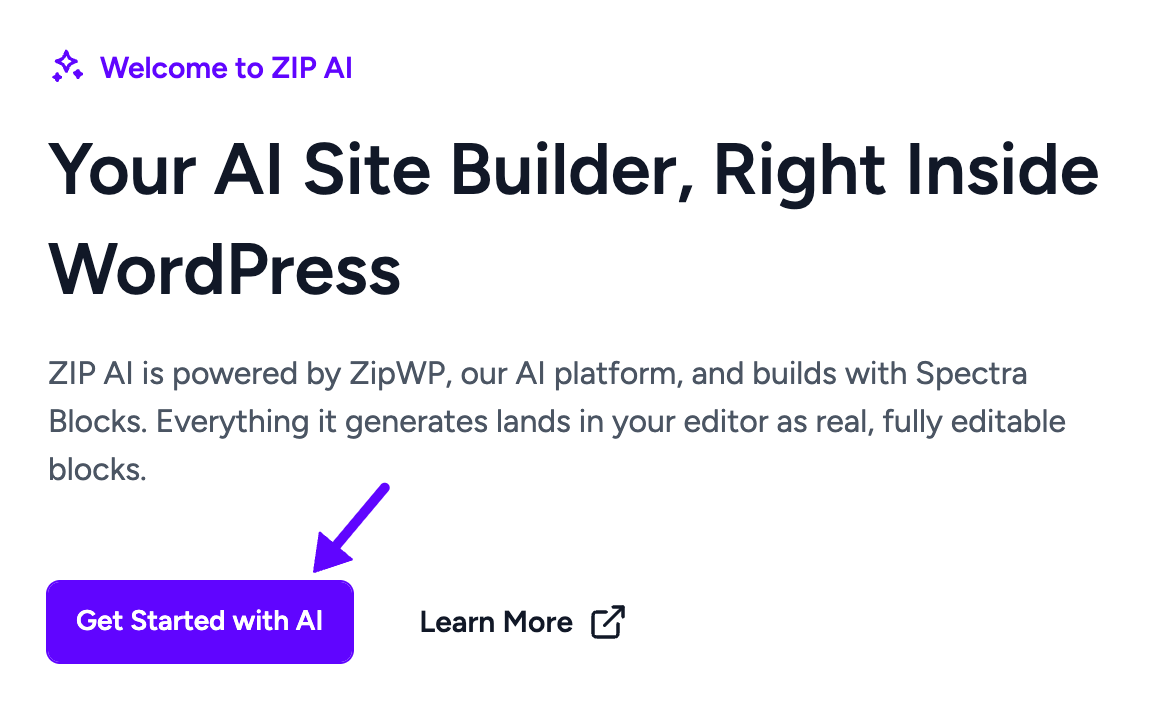
- After the reload, the ZIP AI panel opens on the right side of the screen. It shows Welcome to ZIP AI and asks you to connect your ZipWP account.
- Click Sign Up and Connect if you are new to ZipWP, or Login with Existing ZipWP Account if you already have an account.
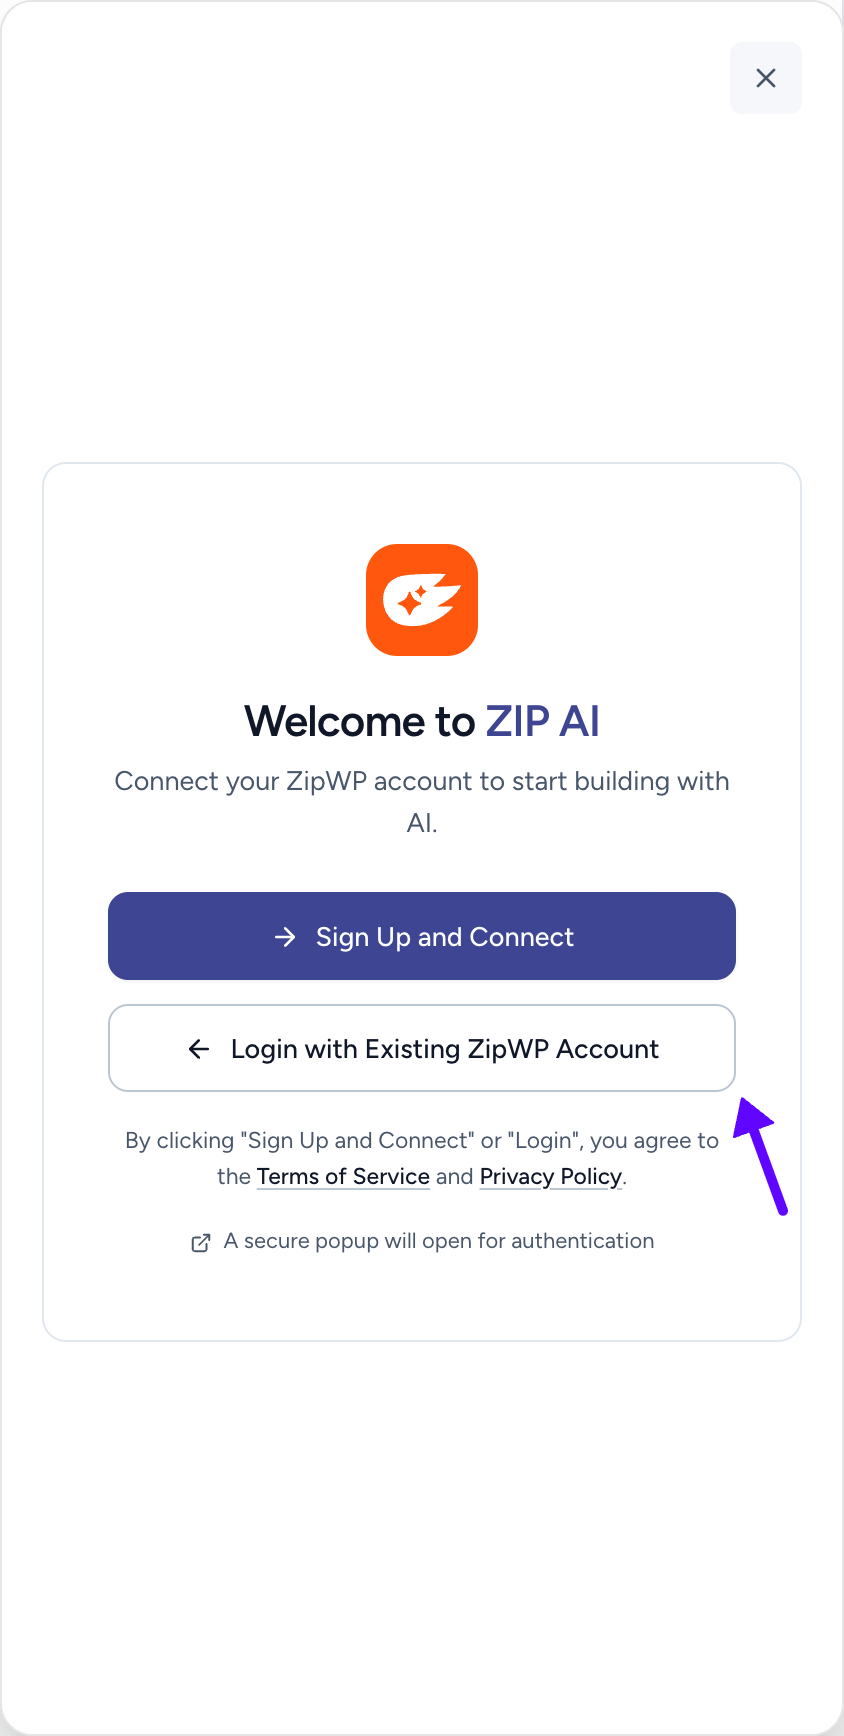
- A secure popup window opens. Follow the steps in the popup to sign in or create your account and approve the connection.
- Once you are connected, you are back in WordPress. The ZIP AI panel greets you by name and shows a few starter ideas, such as Generate a page layout and Create a popup, above the message box.
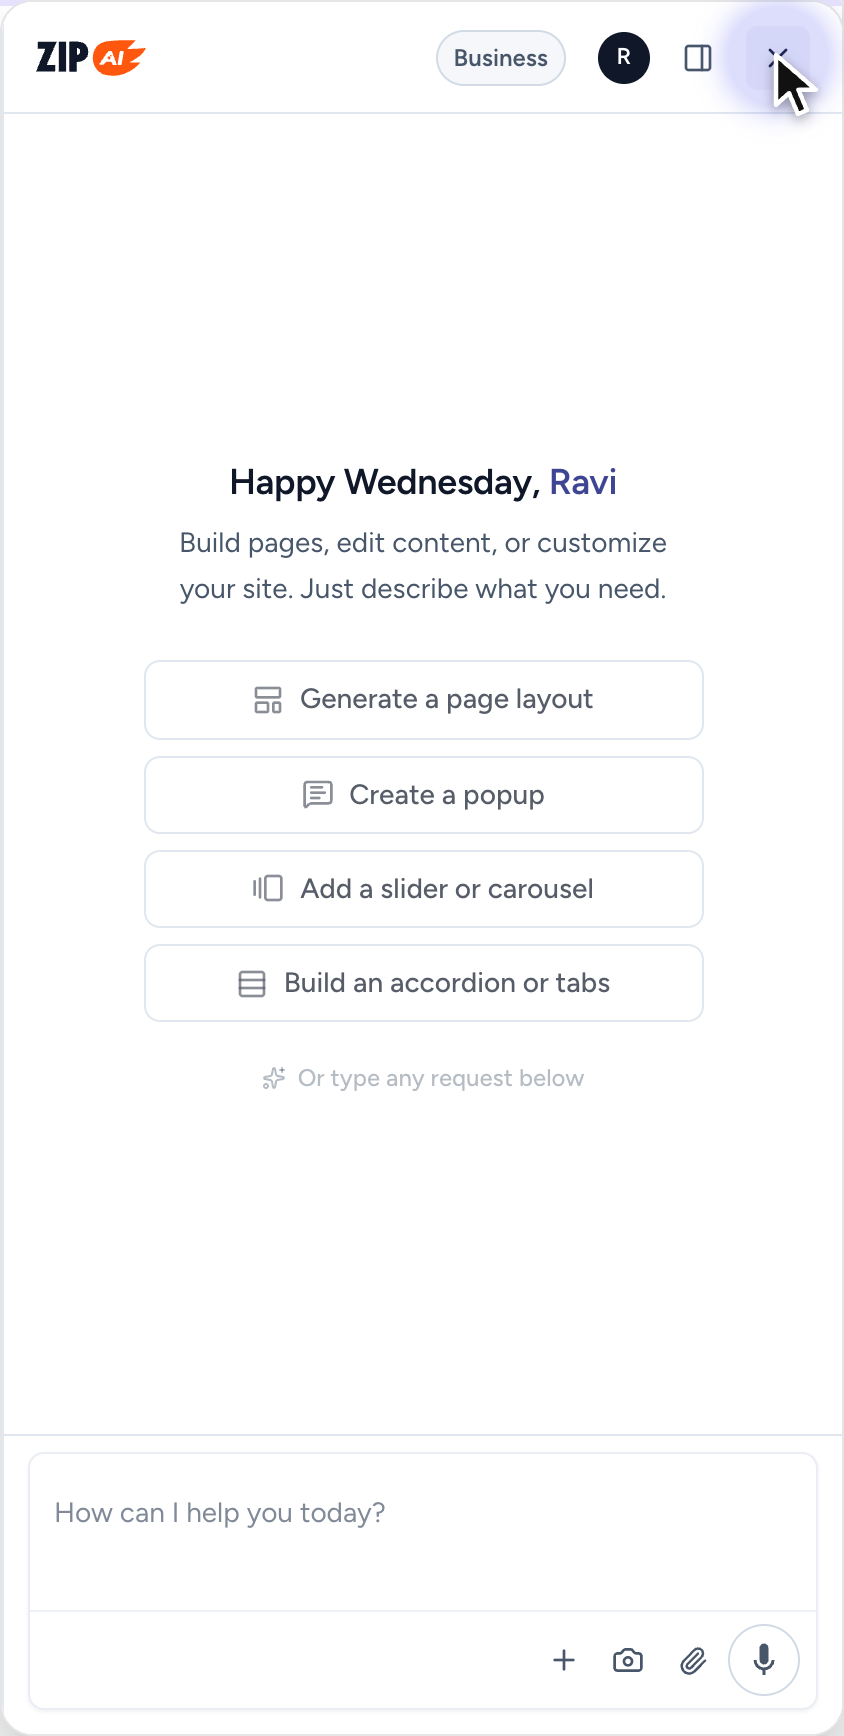
You can confirm the connection on the AI Features screen. The ZipWP Account card on this screen changes from Inactive to a green Active badge.

From now on, the main button on this screen says Launch ZIP AI. Click it whenever you want to open the panel.
You can also open ZIP AI from ZIP AI > Assistant in the WordPress admin menu, or with the Edit with ZIP AI button that appears at the bottom right of your pages when you view them while logged in.
What the Manage Account Button Does
The ZipWP Account card has a Manage Account button. It opens your account settings on the ZipWP website in a new tab, where you can manage your ZipWP account.
Manage Account does not connect or disconnect your site. To do either of those, use the ZIP AI panel as shown in this guide. If you only want to check your plan, open the account menu in the ZIP AI panel and click Plan Usage.
How to Disconnect Your ZipWP Account
You might want to disconnect ZIP AI when you hand a site over to a client, switch to a different ZipWP account, or stop using AI on a site. In the ZIP AI panel, disconnecting is called logging out.
- Go to Spectra Blocks > AI Features and click Launch ZIP AI.
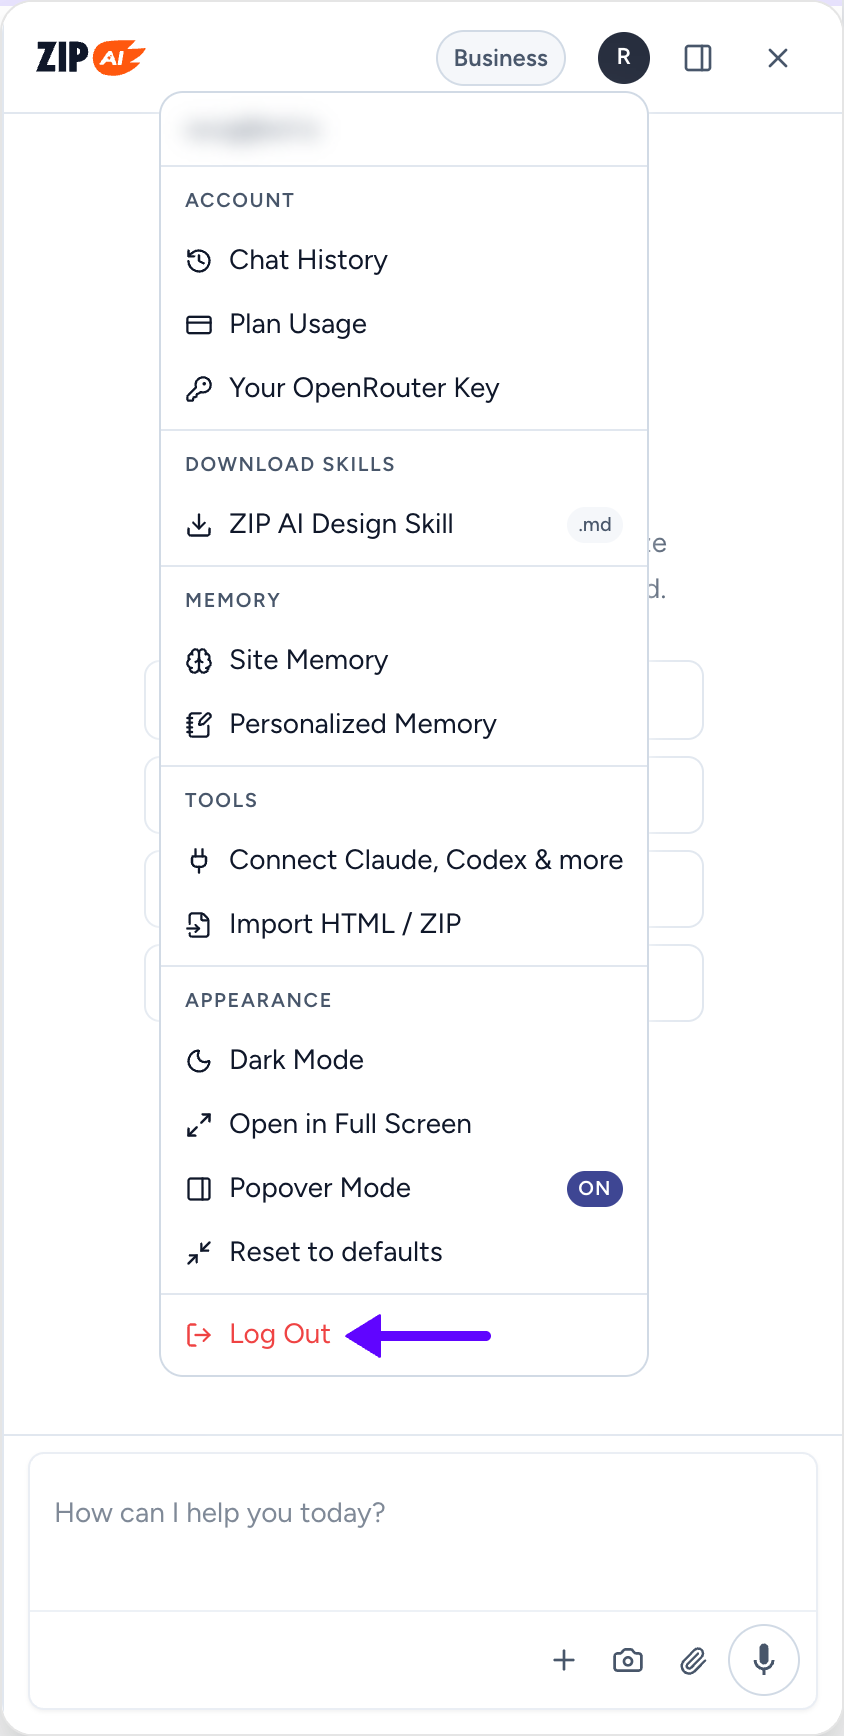
- At the top right of the ZIP AI panel, click the round icon with the first letter of your email address. Its tooltip says Account & settings.
- Click Log Out at the bottom of the menu.
- The panel asks Log out of ZIP AI? and explains that this disconnects your ZipWP account from the site. Click Log out to confirm.
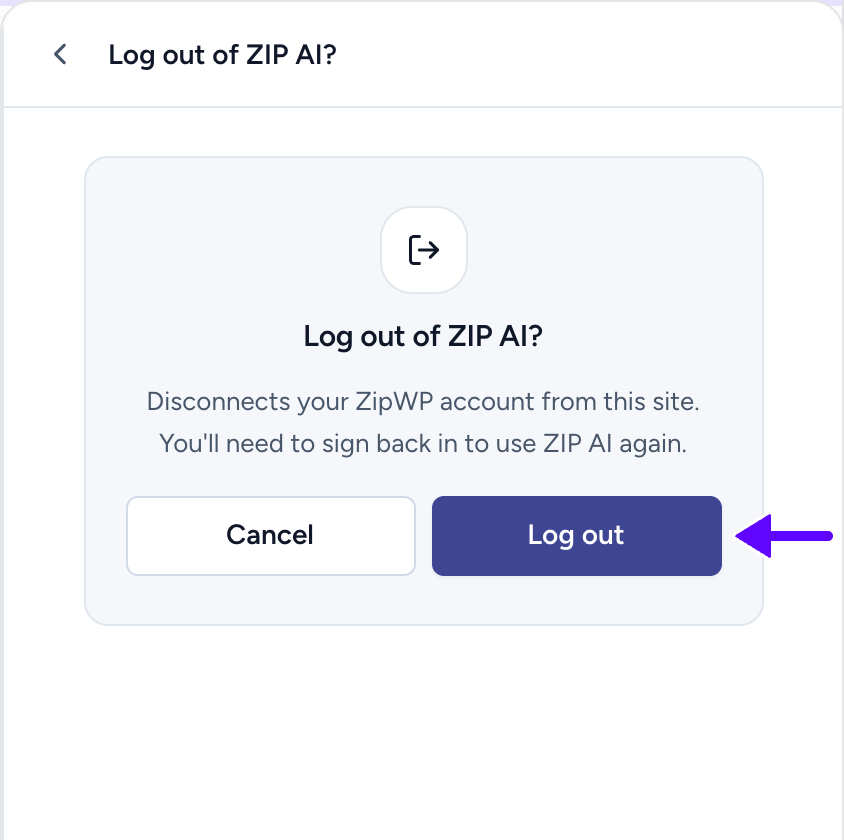
Your ZipWP account is now disconnected from this site. The panel goes back to the Welcome to ZIP AI screen, and the ZipWP Account card on the AI Features screen shows Inactive again. Your ZipWP account itself stays as it is, and you can connect again at any time by clicking Launch ZIP AI and signing back in.
How to Turn Off ZIP AI Completely
Logging out stops ZIP AI from working on your site, but the ZIP AI plugin stays installed. If you do not plan to use AI on this site at all, you can deactivate the plugin.
- In your WordPress dashboard, go to Plugins > Installed Plugins.
- Find ZIP AI in the list and click Deactivate.

Pages that ZIP AI already built stay on your site because they are regular Spectra Blocks content. Code snippets you added through ZIP AI, listed under ZIP AI > Code Snippets, stop running while the plugin is off. If you change your mind later, go back to Spectra Blocks > AI Features and click Get Started with AI to set it up again.
Things to Know
ZIP AI builds full websites on block themes and Astra. Other classic themes are not supported for full site building.
If the AI Features screen does not show your account as connected after you logged in on the ZipWP website, open the ZIP AI panel with Launch ZIP AI and connect from there. Logging in on ZipWP alone does not connect your site.
That is all it takes to connect, disconnect, and turn off ZIP AI on your site. If anything does not work the way this guide describes, our support team is happy to help.
We don't respond to the article feedback, we use it to improve our support content.