
- Filters/Actions For Post
- Spectra Patterns
- Contact Form 7: Checkbox / Radio / Acceptance Control
- Getting Started With Spectra
- WP – Search
- Create Contact Forms
- Import Single Pages, Templates, & Block Patterns
- Assets API For Third-Party Plugins
- Copy & Paste Style
- Load Google Fonts Locally
- Troubleshooting: Missing Icons
- Contact Form 7: Multiple Column Fields
- Unable To Style Contact Form 7
- Tab Index For Multiple Gravity Forms
- Manually Install Spectra Via FTP
- Enable/Disable Design Library Button
- Update Folder File Permissions
- Resolving Container Layout Conflicts
- Database Update Instructions (Below 2.0.0)
- Transparent / Sticky Header
- Change Site Logo
- Change Global Styles
- Disable Title on Posts & Pages
- Transparent / Sticky Header For Single Page / Post
- Change Header & Footer Patterns
- Custom / Google Fonts
- Reset Global Default Styling
- Manually Install Spectra One Via FTP
- Enable / Disable Header & Footer On Specific Pages / Posts
Installing and Importing Starter Templates In Spectra
With the Starter Templates plugin, you can save time by importing readymade sites that can be tweaked and made into your own.
You can have a look at the library of Starter Templates for Ready to Import Websites.
In this library, a few templates do not have any tags – these templates are available for free.
While some templates have a ‘Premium’ tag – these templates are available with Astra premium packages – Business Toolkit or the Essential Toolkit.
Installing and Using the Starter Templates Plugin with Spectra
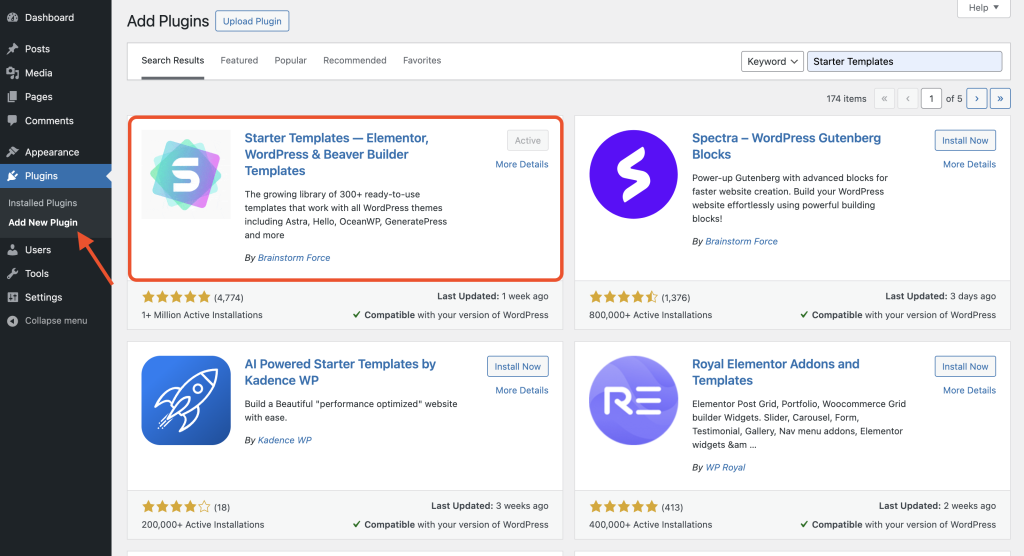
Step 1: For accessing free websites, download the Starter Templates plugin.
If you need access to websites tagged as “Premium”, you will need to install the Premium Starter Templates plugin which comes with Business Toolkit or the Essential Toolkit.
Step 2: Install and activate it as any normal WordPress plugin.
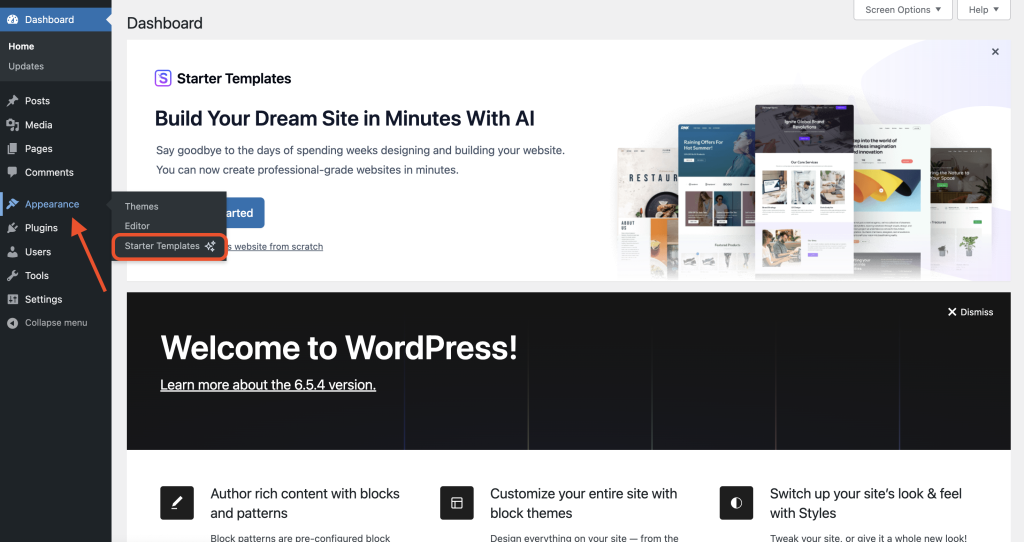
Step 3: Once activated, you’ll find the Starter Templates library under Appearance > Starter Templates.
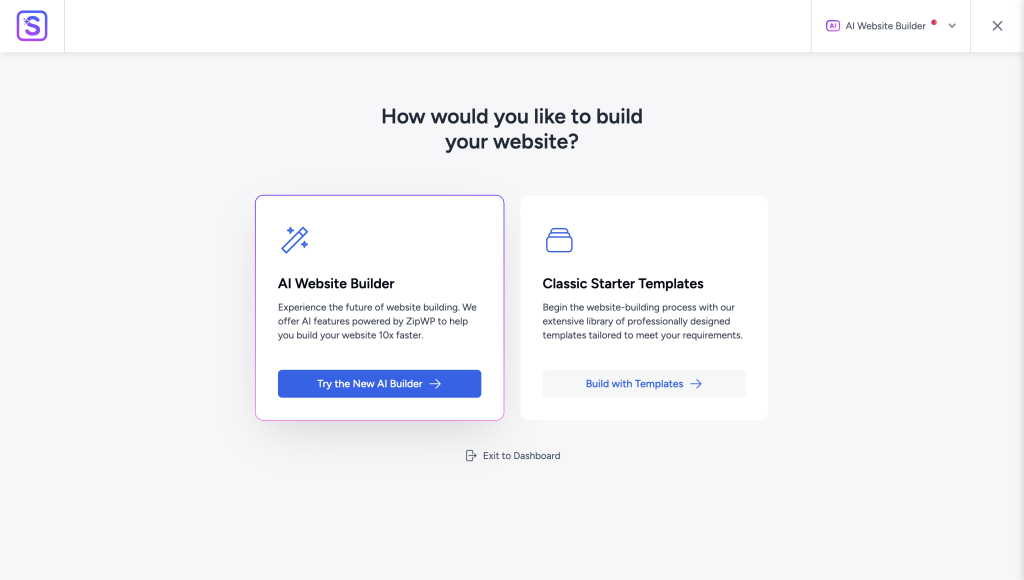
Step 4: Select from our library of classic Starter Templates or AI websites. You can preview the website before importing it.
If you opt for the Classic Starter Templates, you will be prompted to select a page builder:
- Block Editor (Gutenberg)
- Elementor
The library will only show templates built for your selected builder. You can change this later from within the library. Use the search bar or scroll through to find a template, then click on it to preview its pages and see a live demo before importing.
Instead of choosing a pre-built template, you can use the AI Website Builder to generate a fully custom site. On the first screen, click “Build With AI” to access this feature. The AI will guide you through a short setup to create a website tailored to your needs. For more details, refer to Starter Templates and ZipWP Integration.
Step 5: Customize Before Importing
After selecting a template, you will be guided through a few customization steps:
Logo: Upload your logo or select it from the Media Library. Set the logo width. You can skip this with “Skip & Continue.”
Colors: Choose a global color palette. Selecting a palette will update the template preview in real time.
Typography: Select a typography preset to set fonts across the site.
Step 6: Select Features
On the next screen, choose additional features to include with your import. For example, selecting “Video Player” will install and activate the Presto Player plugin automatically.
Step 7: Import the template
Follow along the steps until you see the “Submit and Build my Website” button. By clicking on it you can import the site into your website.
This imports some of the things below from our server to your website:
- All Pages
- All Posts
- WordPress Menus
- Customizer Settings
- Settings of Required Plugins for the particular site.
- Media files like images, etc.
Before clicking Submit, review the Advanced Options:
- Maintain previous/old data: Enable this if you have previously imported a template and want to keep your existing content. Leave it off for a clean import.
⚠️ Important: Do not close the browser window until the import process has fully completed.
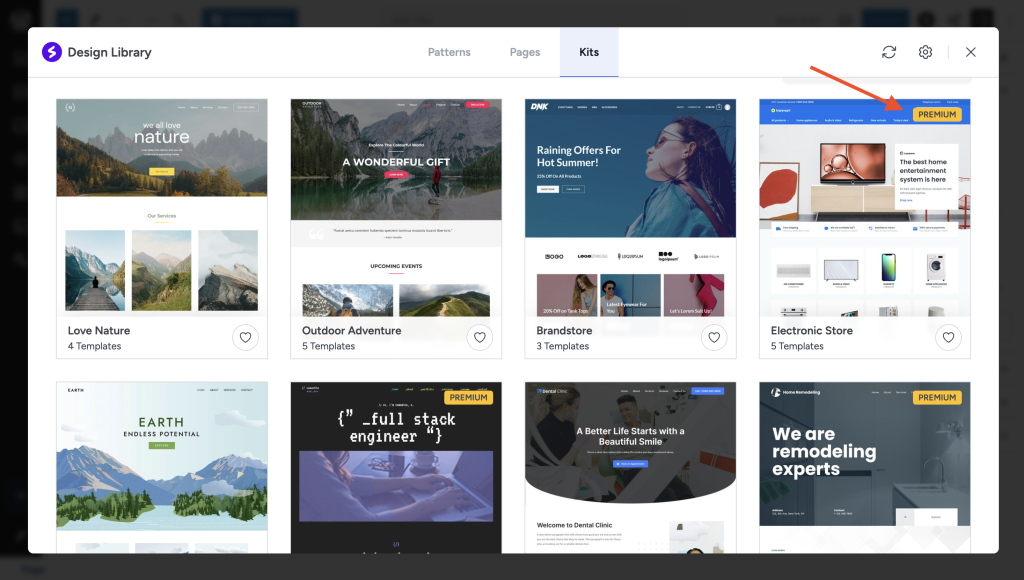
To use the features of Premium Starter Templates along with Spectra, open the Design Library.
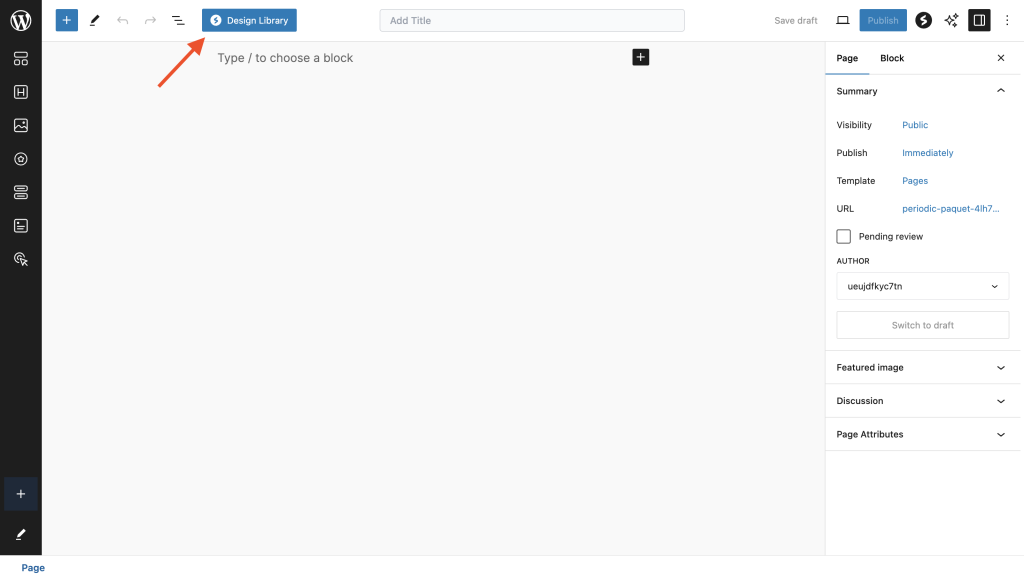
Here, to use the websites tagged as “Premium”, you would need to access the Premium Starter Templates plugin here.
Step 8: View Your Site
Once the import is complete, click “View Your Site” to see the result, or “Visit Dashboard” to return to WordPress admin.
All settings can be manually modified after import.
Some Notes:
- Though not required, it is a good idea to import a site on a fresh WordPress installation. If you would like to reset your current WordPress installation to make it like a fresh, brand-new website, you may use a plugin like this.
- Need to import Starter Templates on an existing website? Read this article.
- Though we try to use free and non-copyrighted images in all of the ready Starter Templates, we cannot take legal responsibility. We recommend you replace the images after importing.
- Astra Sites Plugin has two variations. The first version is free and hosted on the WordPress.org repository, and you can use that to import all free sites. Whereas, our customers who have bought the Business Toolkit or Essential Toolkit, have access to the premium sites after activating the license.
You can use the Starter Templates plugin along with Spectra to improve the user experience and the website quality.
That’s all! For any questions, feel free to reach out to us. We’re always here to help!
We don't respond to the article feedback, we use it to improve our support content.